
There is something really magic about the art of making your own arequipe at home alone. Arequipe, otherwise called dulce de leche, is a sweet and rich caramel-like treat that has been a cherished delicacy in Latin America for generations, even thought it is also beloved and consumed worldwide. Perfectly, you need not bother with to be a culinary master to create this tasty savor the experience of your own kitchen. All you need is a touch of patience and simple guide, a few essential ingredients, and a love for the sweet side of life. Let’s dive into delicious adventure.
Ingredients:
- 1 can of sweetened condensed milk
- 1 teaspoon of baking pop
- 1/2 tsp of vanilla extract
- A spot of salt
Recipe:
- Preparation: Begin by arranging your utensils and ingredients. You will need a wooden spoon, a heavy-bottomed pan and a glass jar for storage.
- Start with the Base: Pour the entire jar of sweetened condensed milk into your saucepan. This is the core of heart of your arequipe.
- Add a Dash of Baking Soda: To give your arequipe that rich, caramel color, add one tsp of baking soda. It will also help with the consistency.
- Sprinkle Some Salt: A little pinch of salt brings out the flavor and balances the sweetness.
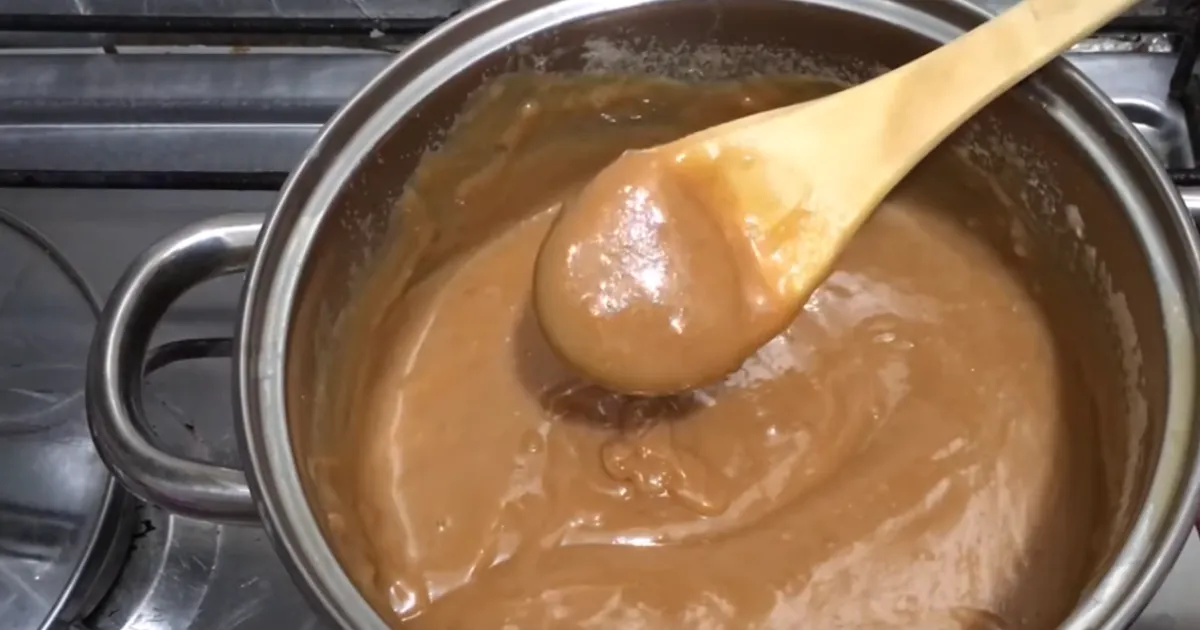
- Heat Gently: Put your saucepan on the stove over normal heat. Stir constantly with a wooden spoon to avoid any burning or sticking.
- Stir, Stir: This is where the patience comes in. Continuing to stir for about an hour. The mixture will gradually thicken and take on that delightful caramel hue.
- The Aroma of Progress: You will feel the Sweet fragrance filling your kitchen as your arequipe thickens. A wonderful sign that you’re on right and perfect track.
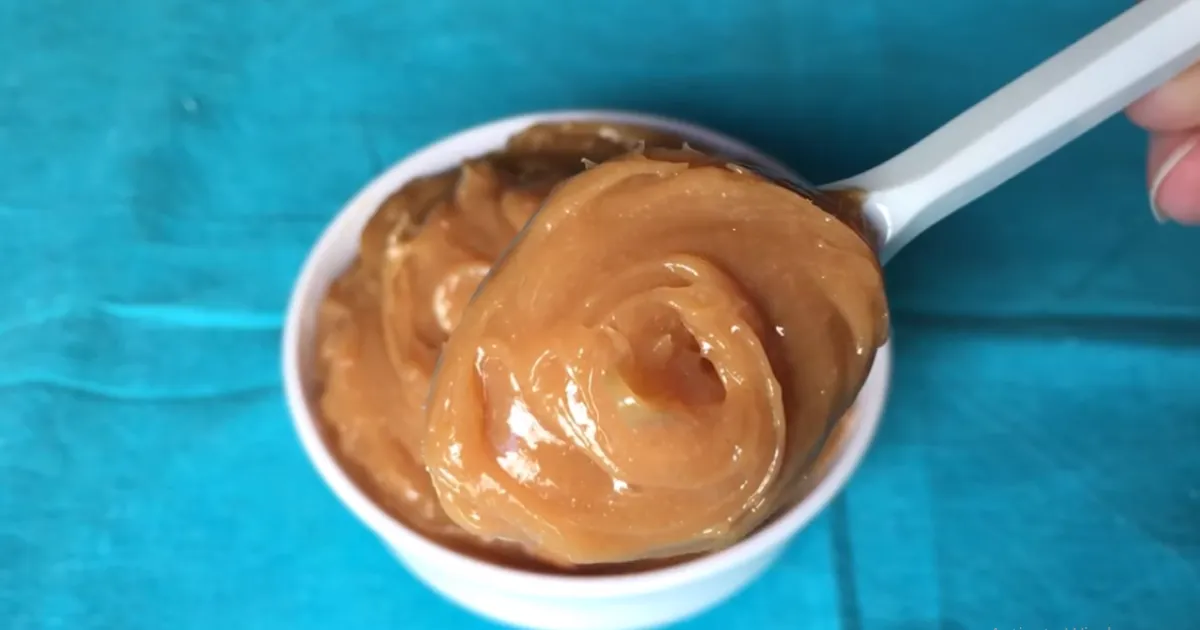
- Test the Consistency: Checking if it is finished, take a spoonful and let it to cool for a moment. If it is the consistency you want, remove it from the heat. If not, keep to stir it for a couple of minutes.
- The Final Touch: Stir in the vanilla extract. This adds a delightful touch of flavor that makes your arequipe significantly more special.
- Cool and Store: Allow your home-made arequipe to cool down to room temperature before transferring it to a glass jar. Seal it and refrigerate. It will keep on thickening as it cools.
Availability of Ingredients:
Arequipe’s ingredients are available in most local supermarkets and grocery stores. Sweetened condensed milk, salt, vanilla extract and baking soda are normal storage room staples. Finding these items is easy, making it convenient for anyone to prepare this tasty Latin American treat in the comfort of their home.
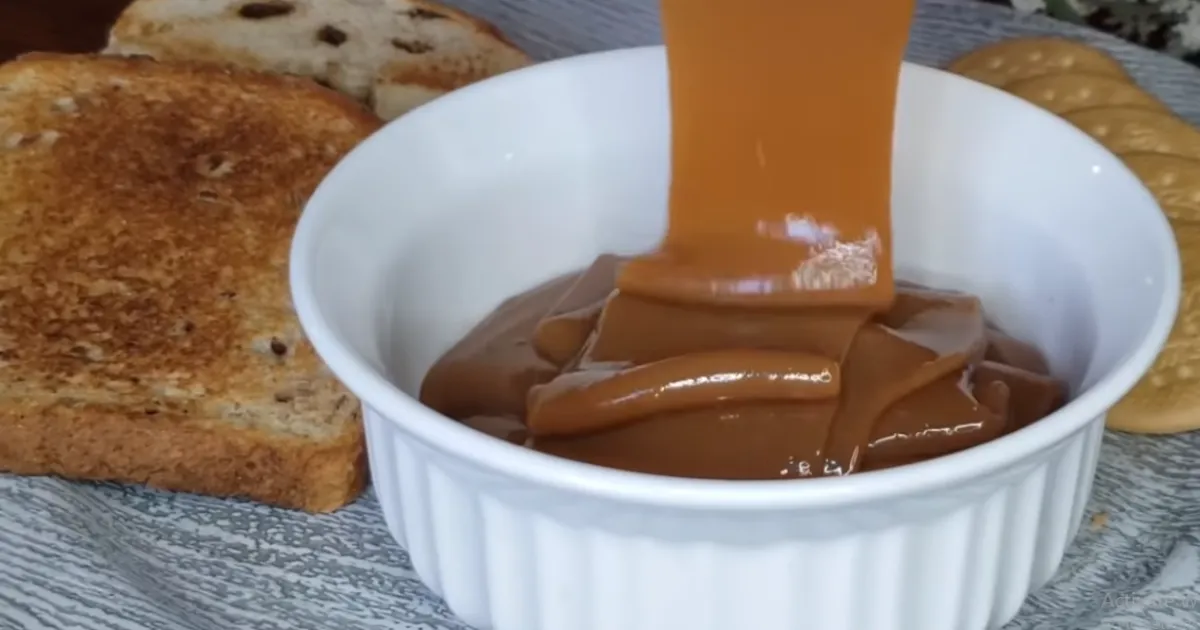
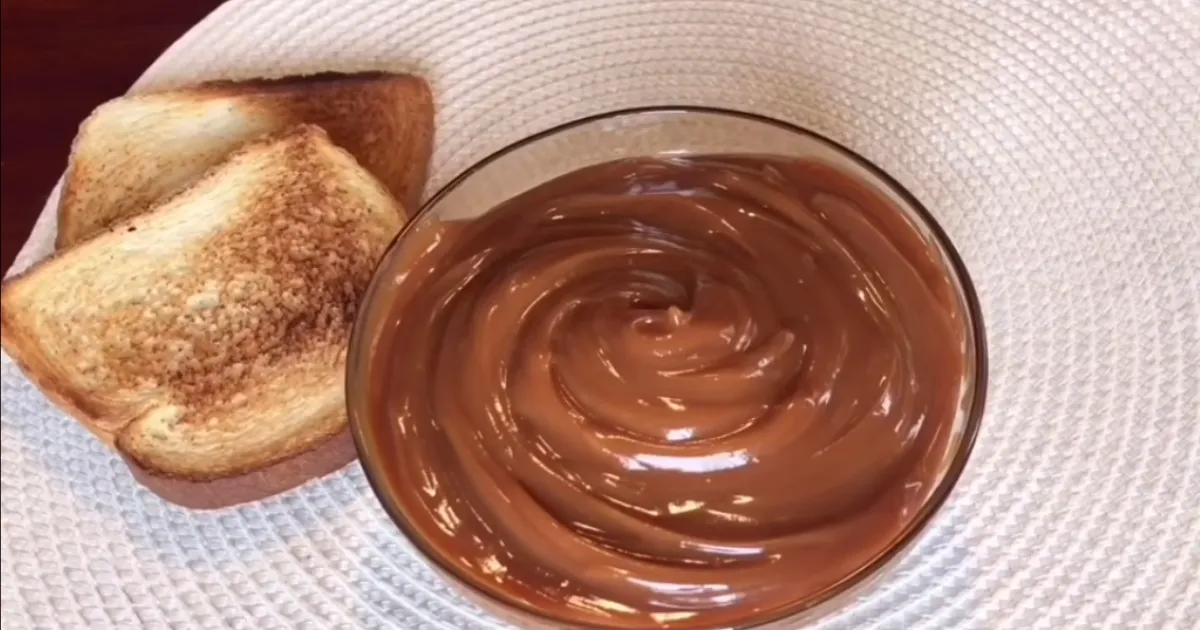
Now you have a jar of smooth and home-made arequipe ready to be enjoyed and delighted in. Spread it on toast, sprinkle it over ice cream, or simply enjoy it by the spoonful. The beauty of this recipe is not just in the delightful end product, but in the joy and delight of making it yourself. It is a sample of tradition, a brief look at the endearing culture of Latin America, and a sweet reminder of the simple delights of life. In this way, focus in, embrace the caramel fragrance, and make your own home-made arequipe – a beautiful source of both delight and joy, and a treat to cherish.
Read Also
https://tastyfoodbites.com/index.php/2023/10/12/sonic-breakfast-menus/
https://tastyfoodbites.com/index.php/2023/10/09/oatmeal-cranberry-walnut/

1 thought on “Making Homemade Arequipe – A Sweet Taste of Tradition”