As someone who has delved into the fascinating world of mycology, I’ve found that liquid culture recipes are a game-changer. They streamline the cultivation process and yield robust, healthy mycelium. Whether you’re a seasoned mushroom cultivator or a curious beginner, this guide will walk you through the essentials of creating a liquid culture recipes, based on my personal experience.
What is Liquid Culture?
Liquid culture (LC) is a nutrient-rich solution used to propagate mycelium. Unlike traditional grain spawn methods, LC allows for faster colonization and easier handling. This method is particularly useful for those looking to expand their mushroom cultivation efforts efficiently.
Why Use Liquid Culture?
Liquid culture offers several benefits:
- Faster Growth: Mycelium in liquid culture spreads more quickly compared to solid substrates.
- Ease of Use: Transferring mycelium from liquid culture to your growing medium is straightforward.
- Cost-Effective: Making liquid culture is inexpensive and requires minimal equipment.
Ingredients for a Basic Liquid Culture Recipe
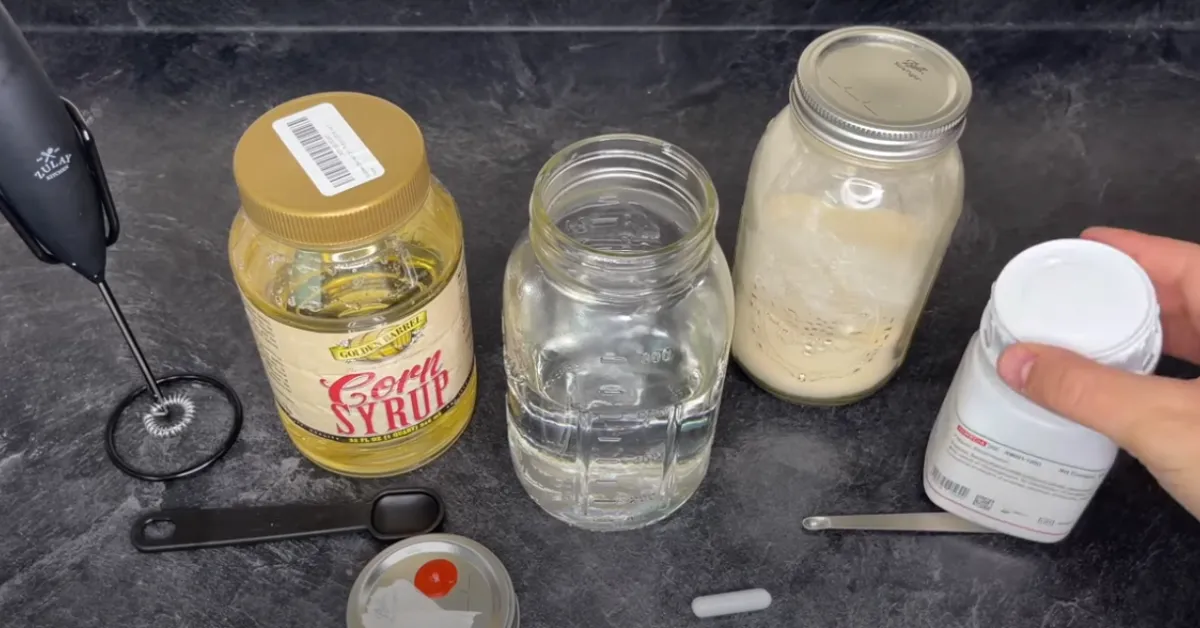
Creating a liquid culture requires a few simple ingredients, most of which you may already have at home:
- Distilled Water: Avoid using tap water as it contains impurities that can hinder mycelium growth.
- Light Malt Extract (LME): This provides essential nutrients for the mycelium. You can find LME at brewing supply stores or online.
- Honey: A natural sugar that promotes growth.
- Jar with Lid: Preferably one that can be sterilized and has a self-healing injection port.
- Syringes and Needles: For inoculating the culture with spores or mycelium.
Step-by-Step Guide to Making Liquid Culture
Step 1: Prepare the Ingredients
Gather your ingredients and ensure they are clean and sterile. Cleanliness is crucial in mushroom cultivation to prevent contamination.
Step 2: Mix the Solution
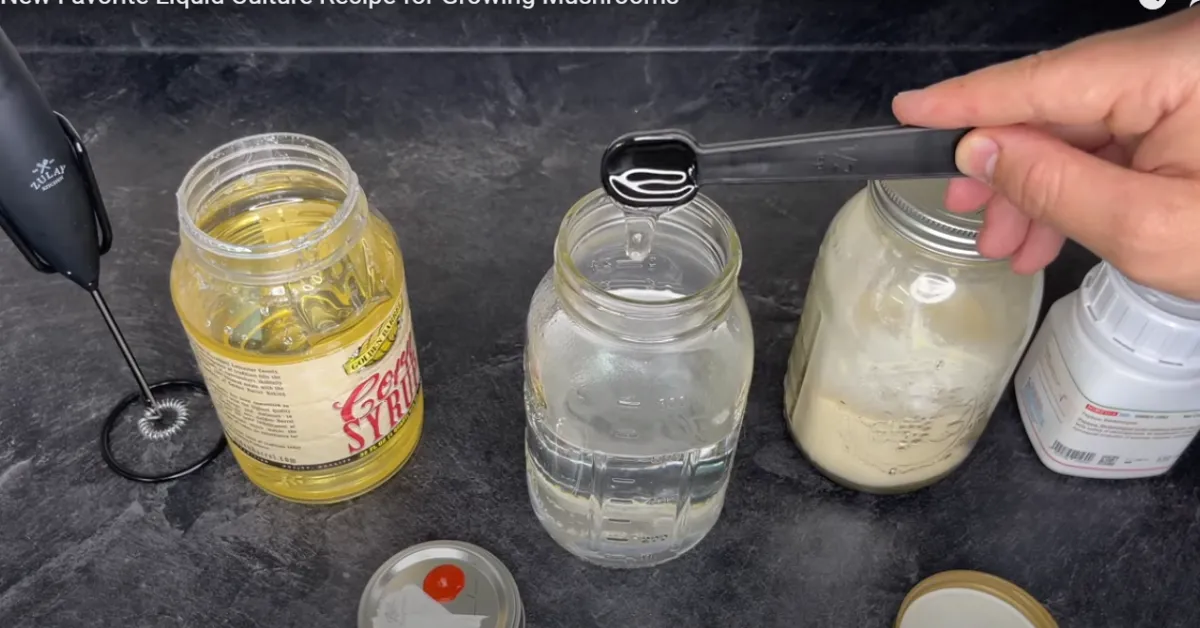
In a sterilized jar, mix the following:
- 500 ml of distilled water
- 1 teaspoon of light malt extract
- 1/2 teaspoon of honey
Pro Tip: Stir the mixture thoroughly to ensure the malt extract and honey dissolve completely.
Step 3: Sterilize the Mixture
Cover the jar with its lid, ensuring it’s sealed but not too tight. Place the jar in a pressure cooker and sterilize at 15 PSI for 20 minutes. Allow the jar to cool down naturally before opening.
Step 4: Inoculate the Liquid Culture
Once the jar has cooled to room temperature, it’s time to inoculate. Using a sterilized syringe, inject spores or a small piece of mycelium into the solution. Be sure to work in a clean environment to avoid contamination.
Monitoring Your Liquid Culture
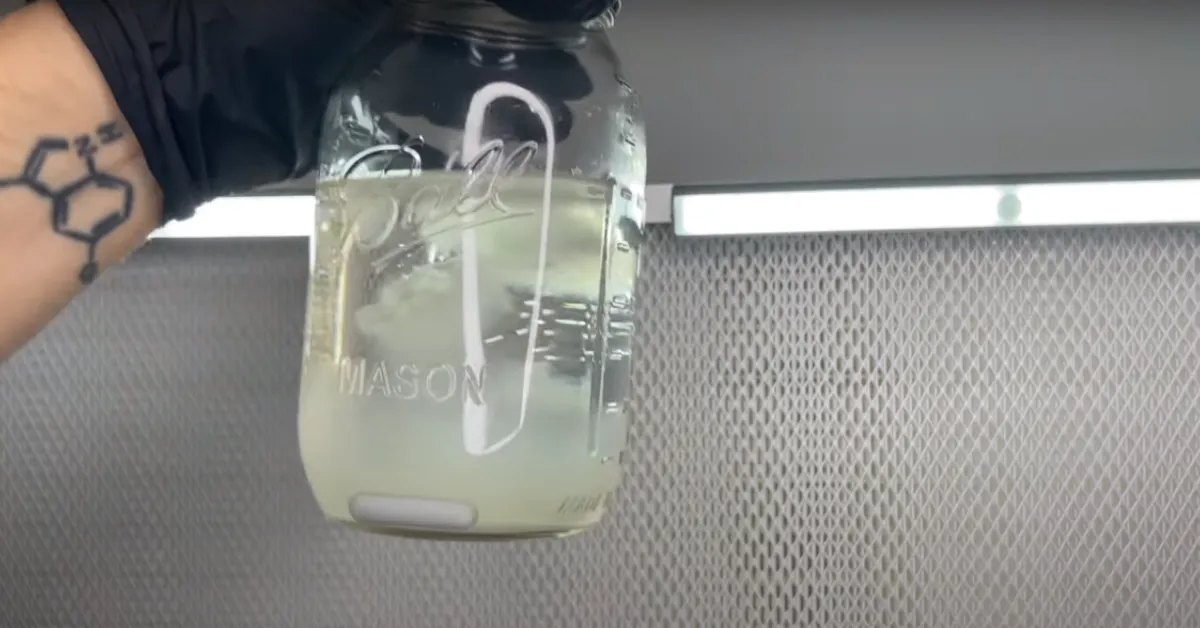
Place the inoculated jar in a warm, dark place. Shake the jar gently once a day to oxygenate the solution and promote even mycelium growth. Within a few days to a week, you should see white, fluffy mycelium spreading through the liquid.
Using Your Liquid Culture
Once the mycelium has fully colonized the liquid, it’s ready for use. Here are a few ways to utilize your liquid culture:
- Inoculating Grain Spawn: Inject the liquid culture into sterilized grain jars to kickstart colonization.
- Creating Agar Plates: Use the culture to inoculate agar plates for further propagation and experimentation.
- Storing for Future Use: Liquid culture can be stored in the refrigerator for several months. Just be sure to shake it occasionally to keep the mycelium healthy.
Common Issues and Troubleshooting
- Contamination: If you notice any discoloration or foul smell, discard the culture immediately. Ensure all equipment is thoroughly sterilized.
- Slow Growth: Check the temperature and ensure it’s within the ideal range (70-75°F). Shaking the jar more frequently can also help.
Conclusion
Creating a liquid culture recipe is a rewarding process that can significantly enhance your mushroom cultivation efforts. By following these simple steps and maintaining a clean environment, you’ll be well on your way to producing healthy, vigorous mycelium. Remember, the key is to be patient and attentive to the needs of your growing culture.
Happy cultivating! If you have any questions or tips to share, feel free to leave a comment below. Your journey into the world of liquid culture is just beginning, and there’s always more to learn and explore.
Also Read More:
Delicious Tuna Avocado Roll Calorie Counts
The Culinary Delights of Sweet Tomatoes in Pleasanton with 3 Simple Ingredients at Home Alone

Your work has captivated me just as much as it has you. The sketch you’ve created is tasteful, and the material you’ve written is impressive. However, you seem anxious about the prospect of presenting something that could be considered questionable. I believe you’ll be able to rectify this situation in a timely manner.